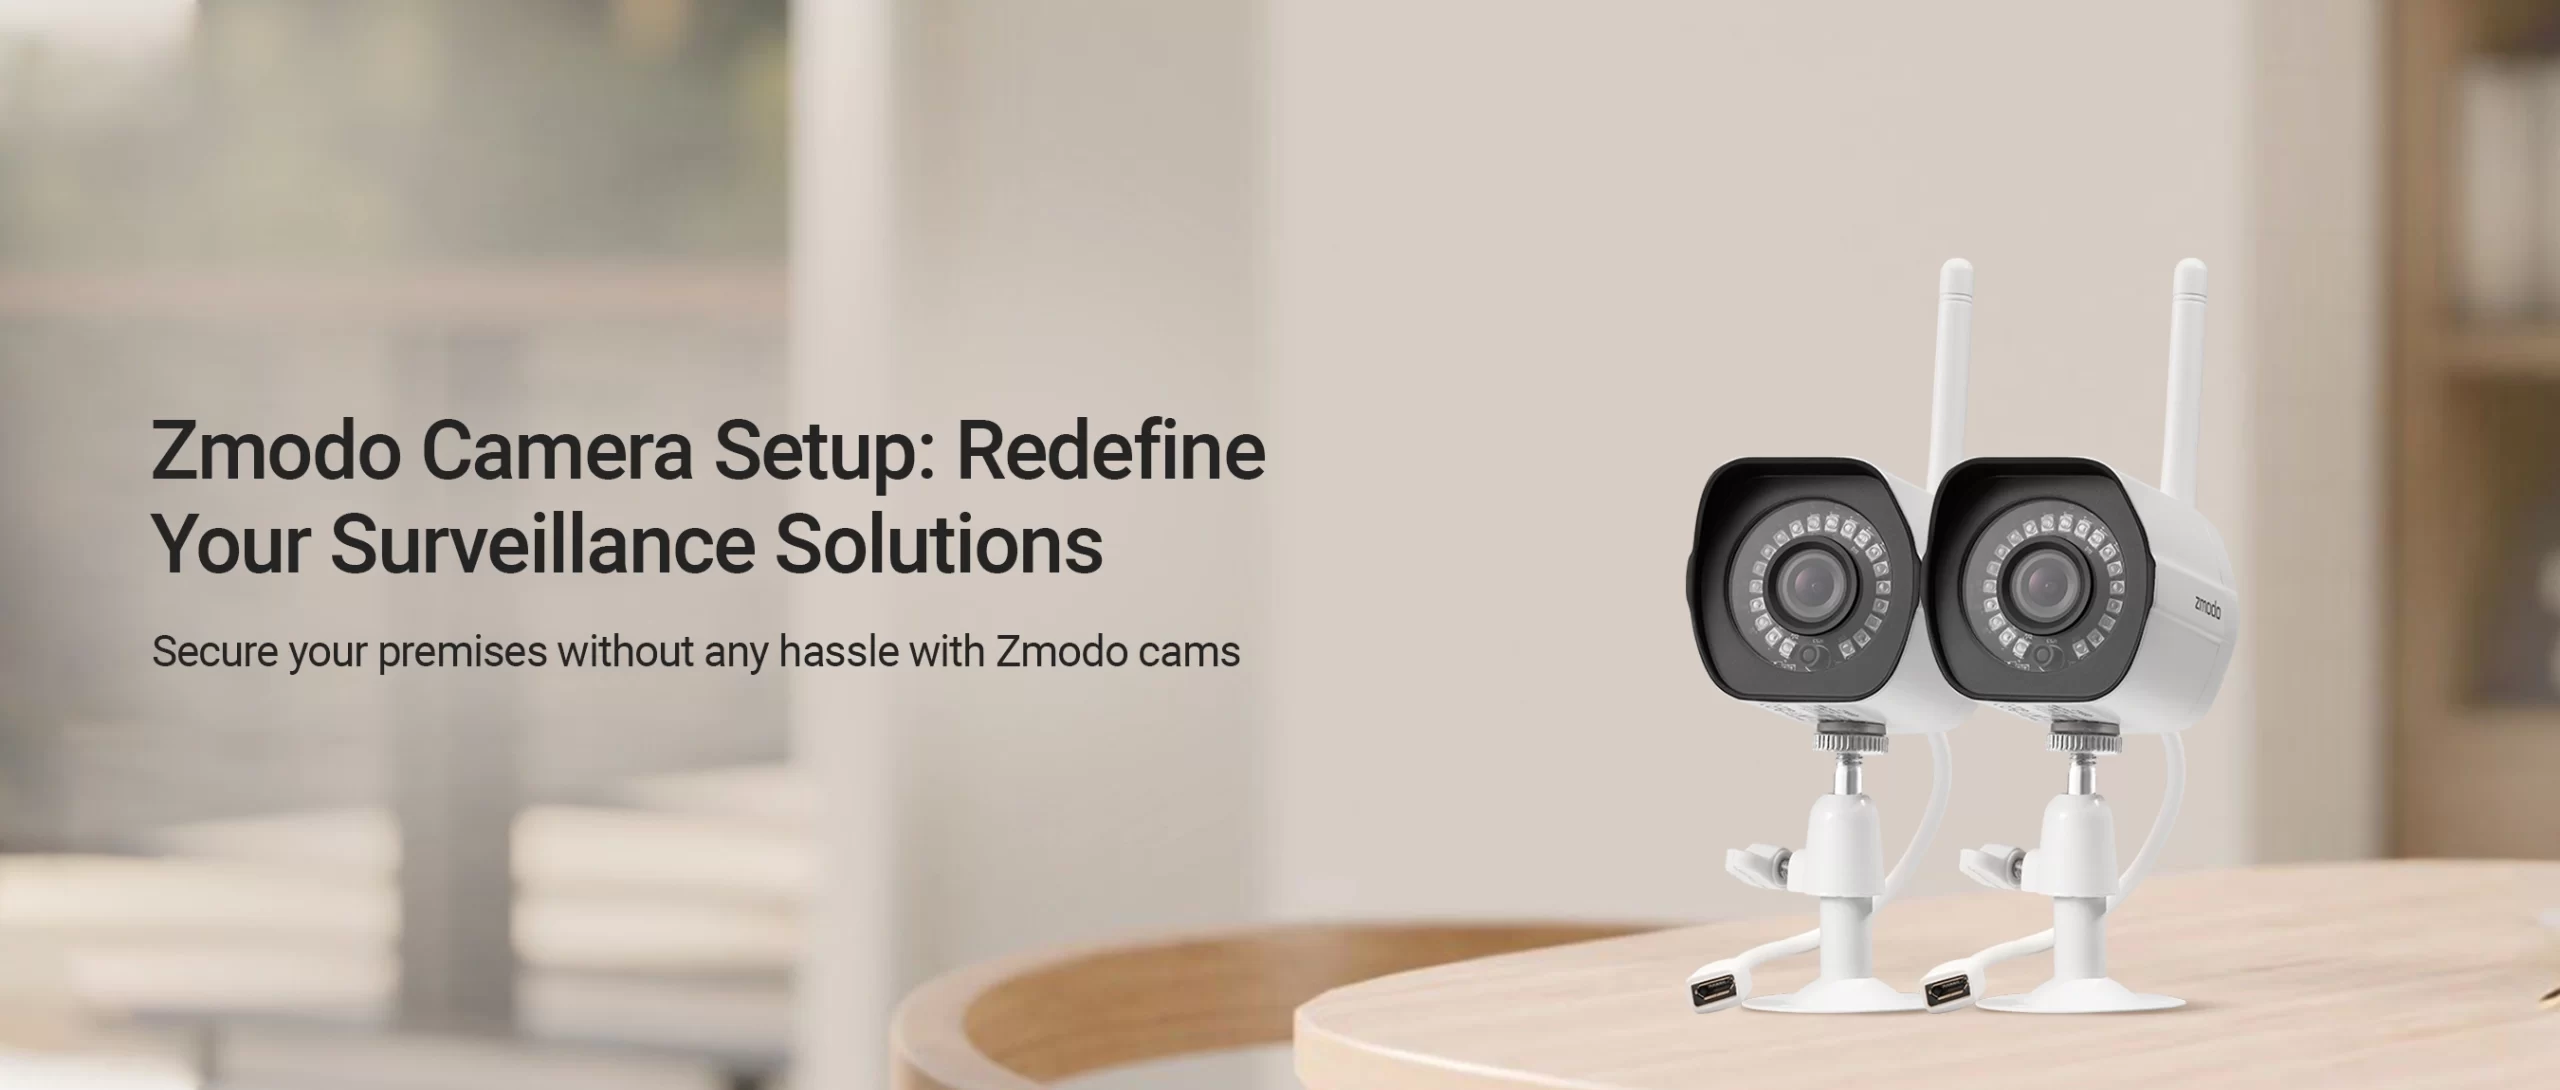
An Essential Guide to Zmodo Camera Setup
Generally, the Zmodo security devices are a vigilant guard for your home and business place. Likewise, these are easy to install and configure to manage according to your preferences. Additionally, for this, you need to carry out the Zmodo camera setup process first. However, the procedure is quite easy and a user can perform this on his own.
In addition, you can configure the camera using two different methods. Similarly, it gives you peace of mind to live securely in your premises. Further, if you want to know the complete wireless or Zmodo wired camera setup, then must walk through this guide. Here, you find the elaborated methods to set your surveillance devices up and more.
What do you need to begin with the Zmodo camera setup?
Moreover, while going to proceed with the camera configuration, then get ready with a few of the primary requirements. These are:

Complete charged cameras (wireless)

Active internet connection

Web address/App
Admin credentials

Computer/Laptop /Smartphone
Power Adaptor /Ethernet Cables
How to setup Zmodo Camera Easily Using Two Different Methods?
Furthermore, you are now aware of the primary requirements for beginning the configuration procedure. Likewise, you can proceed with the Zmodo camera wifi setup via the web GUI and the app. Additionally, read this section as we shed light on the easy steps for both methods. Let’s take a look beneath:
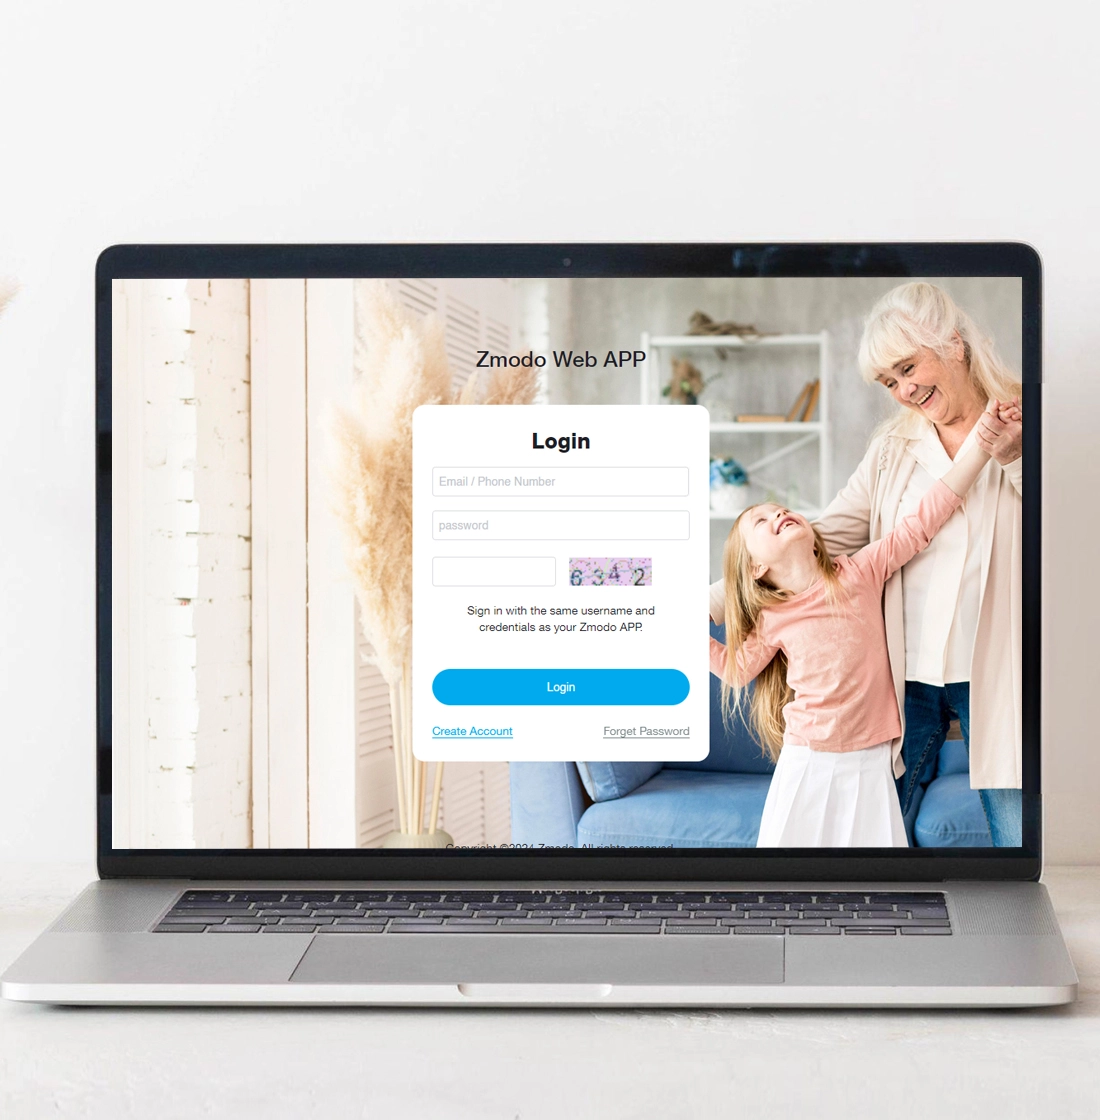
Zmodo Camera Setup Using the Web GUI
- To begin with, ensure your camera is powered on.
- Now, connect the computer to the existing home network.
- Here, open the web browser and type user.zmodo.com or zmodo.com web address in the browser bar.
- Enter the valid admin details or type as mentioned in the user manual if using this method first time.
- Here, you can use the email address or can proceed by creating a new account.
- After logging in, you land on the smart Setup wizard of the camera.
- Here, go to the Add Device or “+” icon to check if the camera is added to the dashboard. If not then click this option and add your camera first.
- After that, follow the onscreen instructions and the list of available wifi connections.
- Select your preferred network and enter the password on the screen.
- Here, you can also carry out the various settings, such as Time Zone, Sensitivity, Color Vision, and more.
- Finally, click on Apply/Save to secure the recent settings.
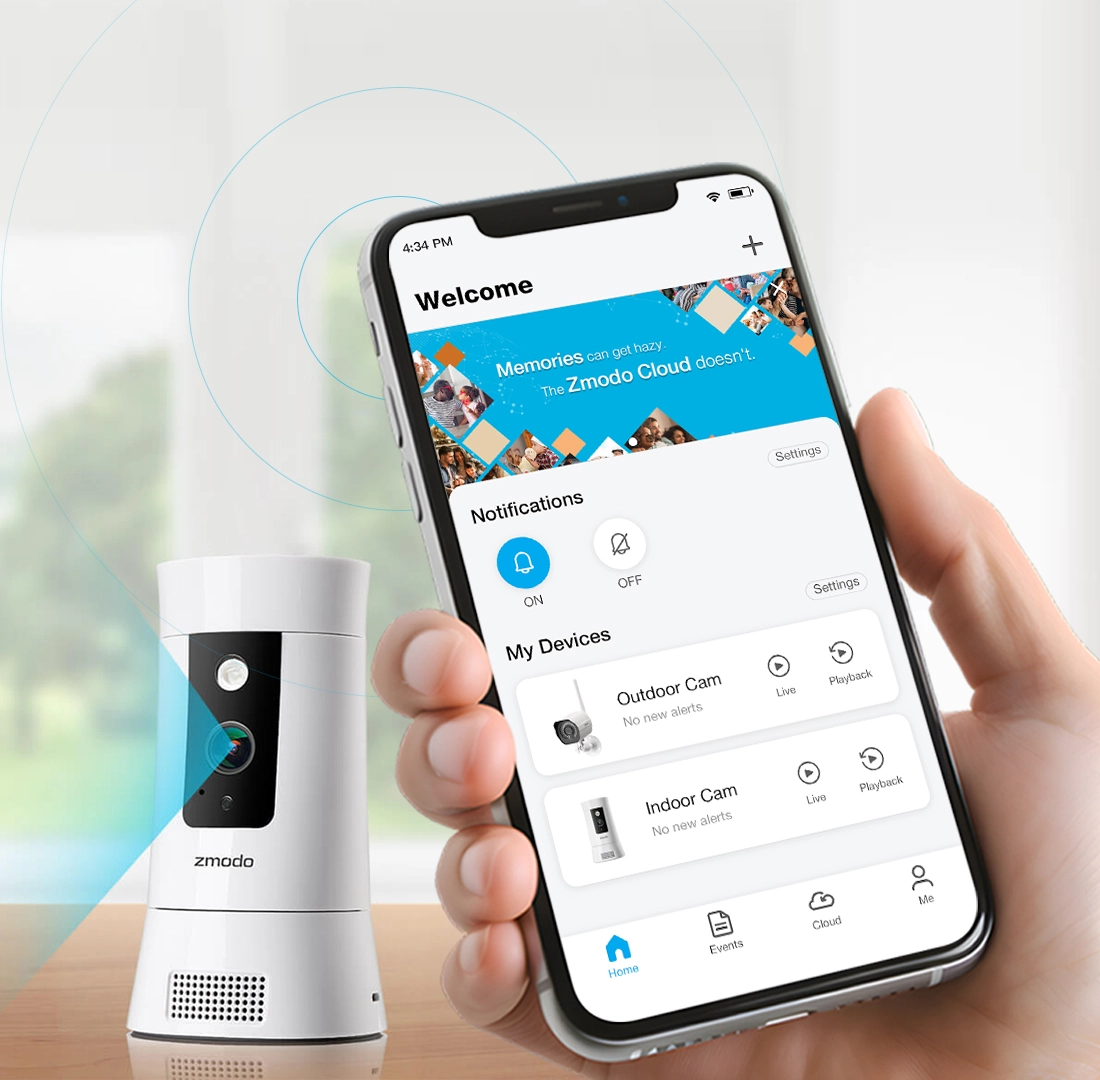
Zmodo Camera Setup App Method
- First & foremost, ensure you are using the upgraded version of the Zmodo app on your smartphone.
- Ensure your smartphone is linked to the existing network.
- After that, launch the app and enter the admin username and password on the login page.
- Further, you land on the Setup dashboard of the camera.
- Here, check that your camera is added to the app. If not, then click on the “+” icon/Add Device to add a camera to the Zmodo app.
- Now, choose Zink on the Menu and then Normal Setup (If you don’t have Beam).
- Afterward, you are prompted to join the available network.
- Hereon, select your existing Home network and mention the SSID name and Password for this.
- Next, follow the Zmodo camera setup guidelines on the screen to configure it accordingly, such as Time zone, Name your device, Modes and Rules settings, etc.
- Now, you can test your cameras after completing the setup process.
- At last, you are done with the Zmodo surveillance gadget configuration.
Troubleshooting steps for Zmodo camera setup issues
Furthermore, users occasionally face issues while they configure their surveillance devices on their own. These can occur due to several reasons such as an unstable network, incorrect admin details, outdated app, outdated camera firmware, and more.
So, it is necessary to resolve the setup issues timely for the optimal functioning of the camera. In this section, we share a few of the effective methods to fix the Zmodo camera setup issues. Let’s take a closer glance below:
- Make sure the camera is placed within the router’s network range.
- Enter accurate admin credentials/web address while entering.
- Check that the camera is charged completely or the wired cameras get enough power supply.
- Look at the network and power cables as these are not damaged and are loosely connected.
- Also, check the wireless network stability or use a wired network connection to stabilize the internet signals.
- Power cycle the camera and the base station (if used) to fix the internal glitches and bugs.
- Temporarily disable security software like VPN/Firewall, etc. till the Zmodo camera wifi setup ends.
- Fix the web browser issues and shift to another browser if it does not support the given camera web address.
- Timely update the camera’s firmware by following the instructions.
- Confirm that you are using the 2.4GHz bandwidth frequency for the optimal connection.
- Recheck the Modes and Rules settings if the camera does not work after setup.
- If you still face issues with the Zmodo camera configuration, then hard reset the camera to default settings and reconfigure it from scratch.
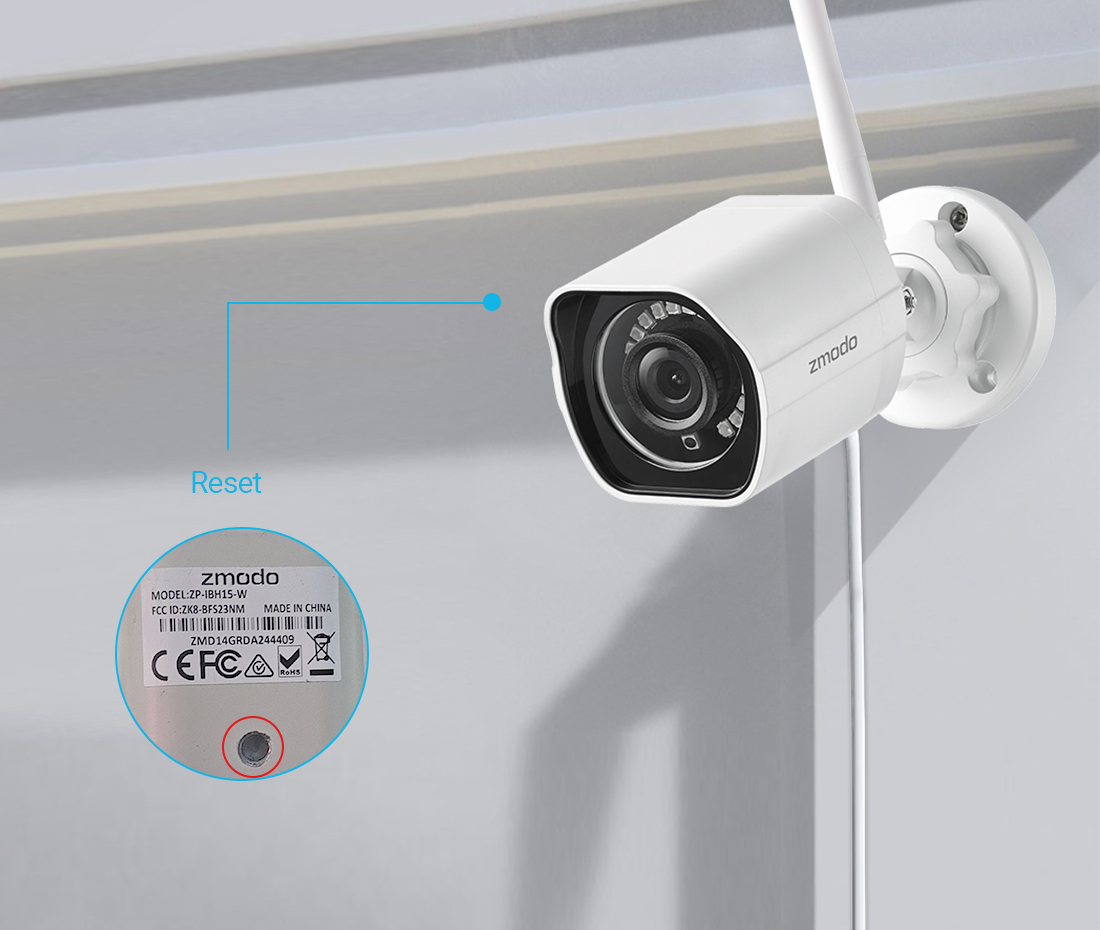
How to Reset Zmodo Camera Easily?
Generally, sometimes users get stuck with the setup procedure or face other issues where other relevant methods do not work. Here, Zmodo camera reset is the final option that reverts your surveillance device to its default settings. Additionally, you can carry out this procedure using three different methods but the Reset button is the preferred one. Hence, we share the steps for the Reset button process in the below sec tuition, have a look:
- Initially, check that your Zmodo camera has the Reset button as most of the Zmodo cams don’t have this knob.
- If you are using the Pivot series, then look for the touchpad.
- Now, press and hold the reset knob for 10-15 seconds using a pinpoint or similar sharp object.
- For the touchpad, you have to press the touchpad for 5-10 seconds.
- When the camera lights turn off, then release the button.
- Now, the surveillance device reboots itself and the status indicator will blink green.
- Lastly, you are done with the Zmodo camera reset process.